
Capture an application using ThinApp
To capture ThinApp application we need clean VM machine with ThinApp software installed. Before we start is good to take snapshot of the VM (after ThinApp installation) to easily revert back changes and always have clean VM before new ThinApp creation.
After ThinApp software installation we can start capturing of new application by going Start Menu and clicking …….. First ThinApp will pre-scan our VM to get baseline of the system.

System Capture

Start prescan

Processing scanning of the system
When the prescan finished we can start installation of software we want to package. We can reboot our VM if this is needed by software we are installing. When finish the installation click Postscan to start capturing changes between new scan and prescan baseline.

Ready for software install
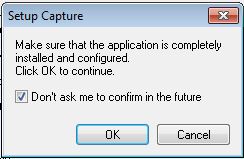
Conformation
When Postscan finish we will see a list of detected application installed on VM. Select which application we want to include in our build or un-select which we don’t.

Application list
We can select to use VMware Workspace, select check box and type URL address of Workspace Appliance

Workspace URL
Select who can run this package, we can select specify AD users or groups.

Package permissions
System isolation mode selection
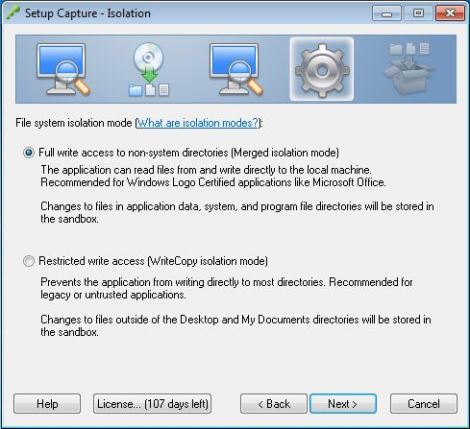
Isolation mode
Select where to store User configuration and data for this package.

Sandbox
Select if we wish to help or not with VMware Quality Assurance

VMware Quality Assurance
Inventory name and location

Project Settings
Package settings, select if we want to use separate .DAT file and create MSI package

Data container, package generation
Ready to Build we can edit package .ini file for example to enable Streaming.


.ini file modification
Package build progress


Project ready to use
After package creation we can copy files from bin directory to ThinApp share.

Project files location
Deploy an application using ThinApp
We can deploy created ThinApp in two ways :
Streaming execution – application is centrally store on file share and can be accessed by multiple users at same time.
Deployment execution – application is deployed to end-user and execute from local drive.
Place ThinApp packages in a centralized repository
We can place ThinApp package application to central location like file server and provision to Desktop Pools. From View Web Admin > Inventory > View Configuration > ThinApp Configuration select Add Repository

ThinApp Repository settings
In Add Application Repository window type Display Name and Share Path to location where ThinApp package are store, click Save

Add, Edit Application Repository
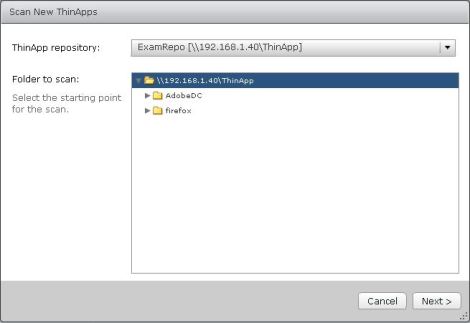
We can now add ThinApp packages to View Admin > Inventory > Catalog > ThinApps we can now scan our newly created repository by clicking Scan New ThinApps…

Scan New ThinApp
From ThinApp repository select repository and from Folder to scan we select package we want to add or top folder and click Next
Repository selection
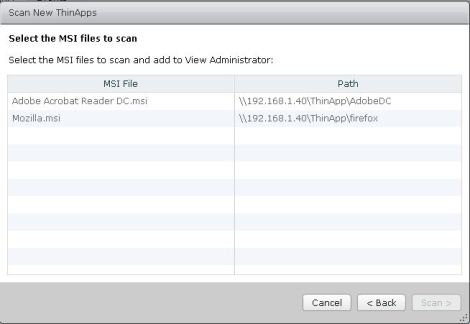
We will see MSI packages detected inside the folder. Select which we want to add and click Scan
MSI packages
After scan completes ThinApp package will be added.

Completed window
Assign ThinApp application to Desktop Pools
We can now assign ThinApp to Desktop Pool or selected machine. Under ThinApps Summary select ThinApp package to assign and click Add Assignment.

Add assignment
Select Pool name and click Add -> to add to the list, under Installation Type select Streaming or Full type of installation and click OK. We cannot change the installation type so need to specify correct one accord to deployment plan

Pool assignment
Click here to read other entries in the series VCAP6 -DTM

Pingback: VCAP6-Desktop and Mobility Deployment Study Guide – Virtual Elementary·